
Last month, we were inspired by a creative challenge posted on a popular French blog, Jasmine & Co. The task was to create little pin dolls with bits of fabric and filling, and the results were very inspiring. Both Del and I created our dolls, and we are posting a simple tutorial in English for you too!
What you will need:
+ a 30 by 30cm square of roughly skin coloured fabric (we used linen)
+ bits of fabric to make the clothes ( be as creative as you want)
+ filling : about two big handfuls
+ an elastic
+ little accessories : pearls, ribbons, trimmings etc.

To start with, take the skin coloured square and place a small ball of filling in the centre to form the head, then tie up with the elastic. Then shape the body with the rest of the filling, close with pins, and handsew a few point to hold everything in place. This is the most fiddly bit: work on the shape of the doll until you get a round body, and the doll is stable enough to stand by itself. I then cut off the extra bits of fabric.

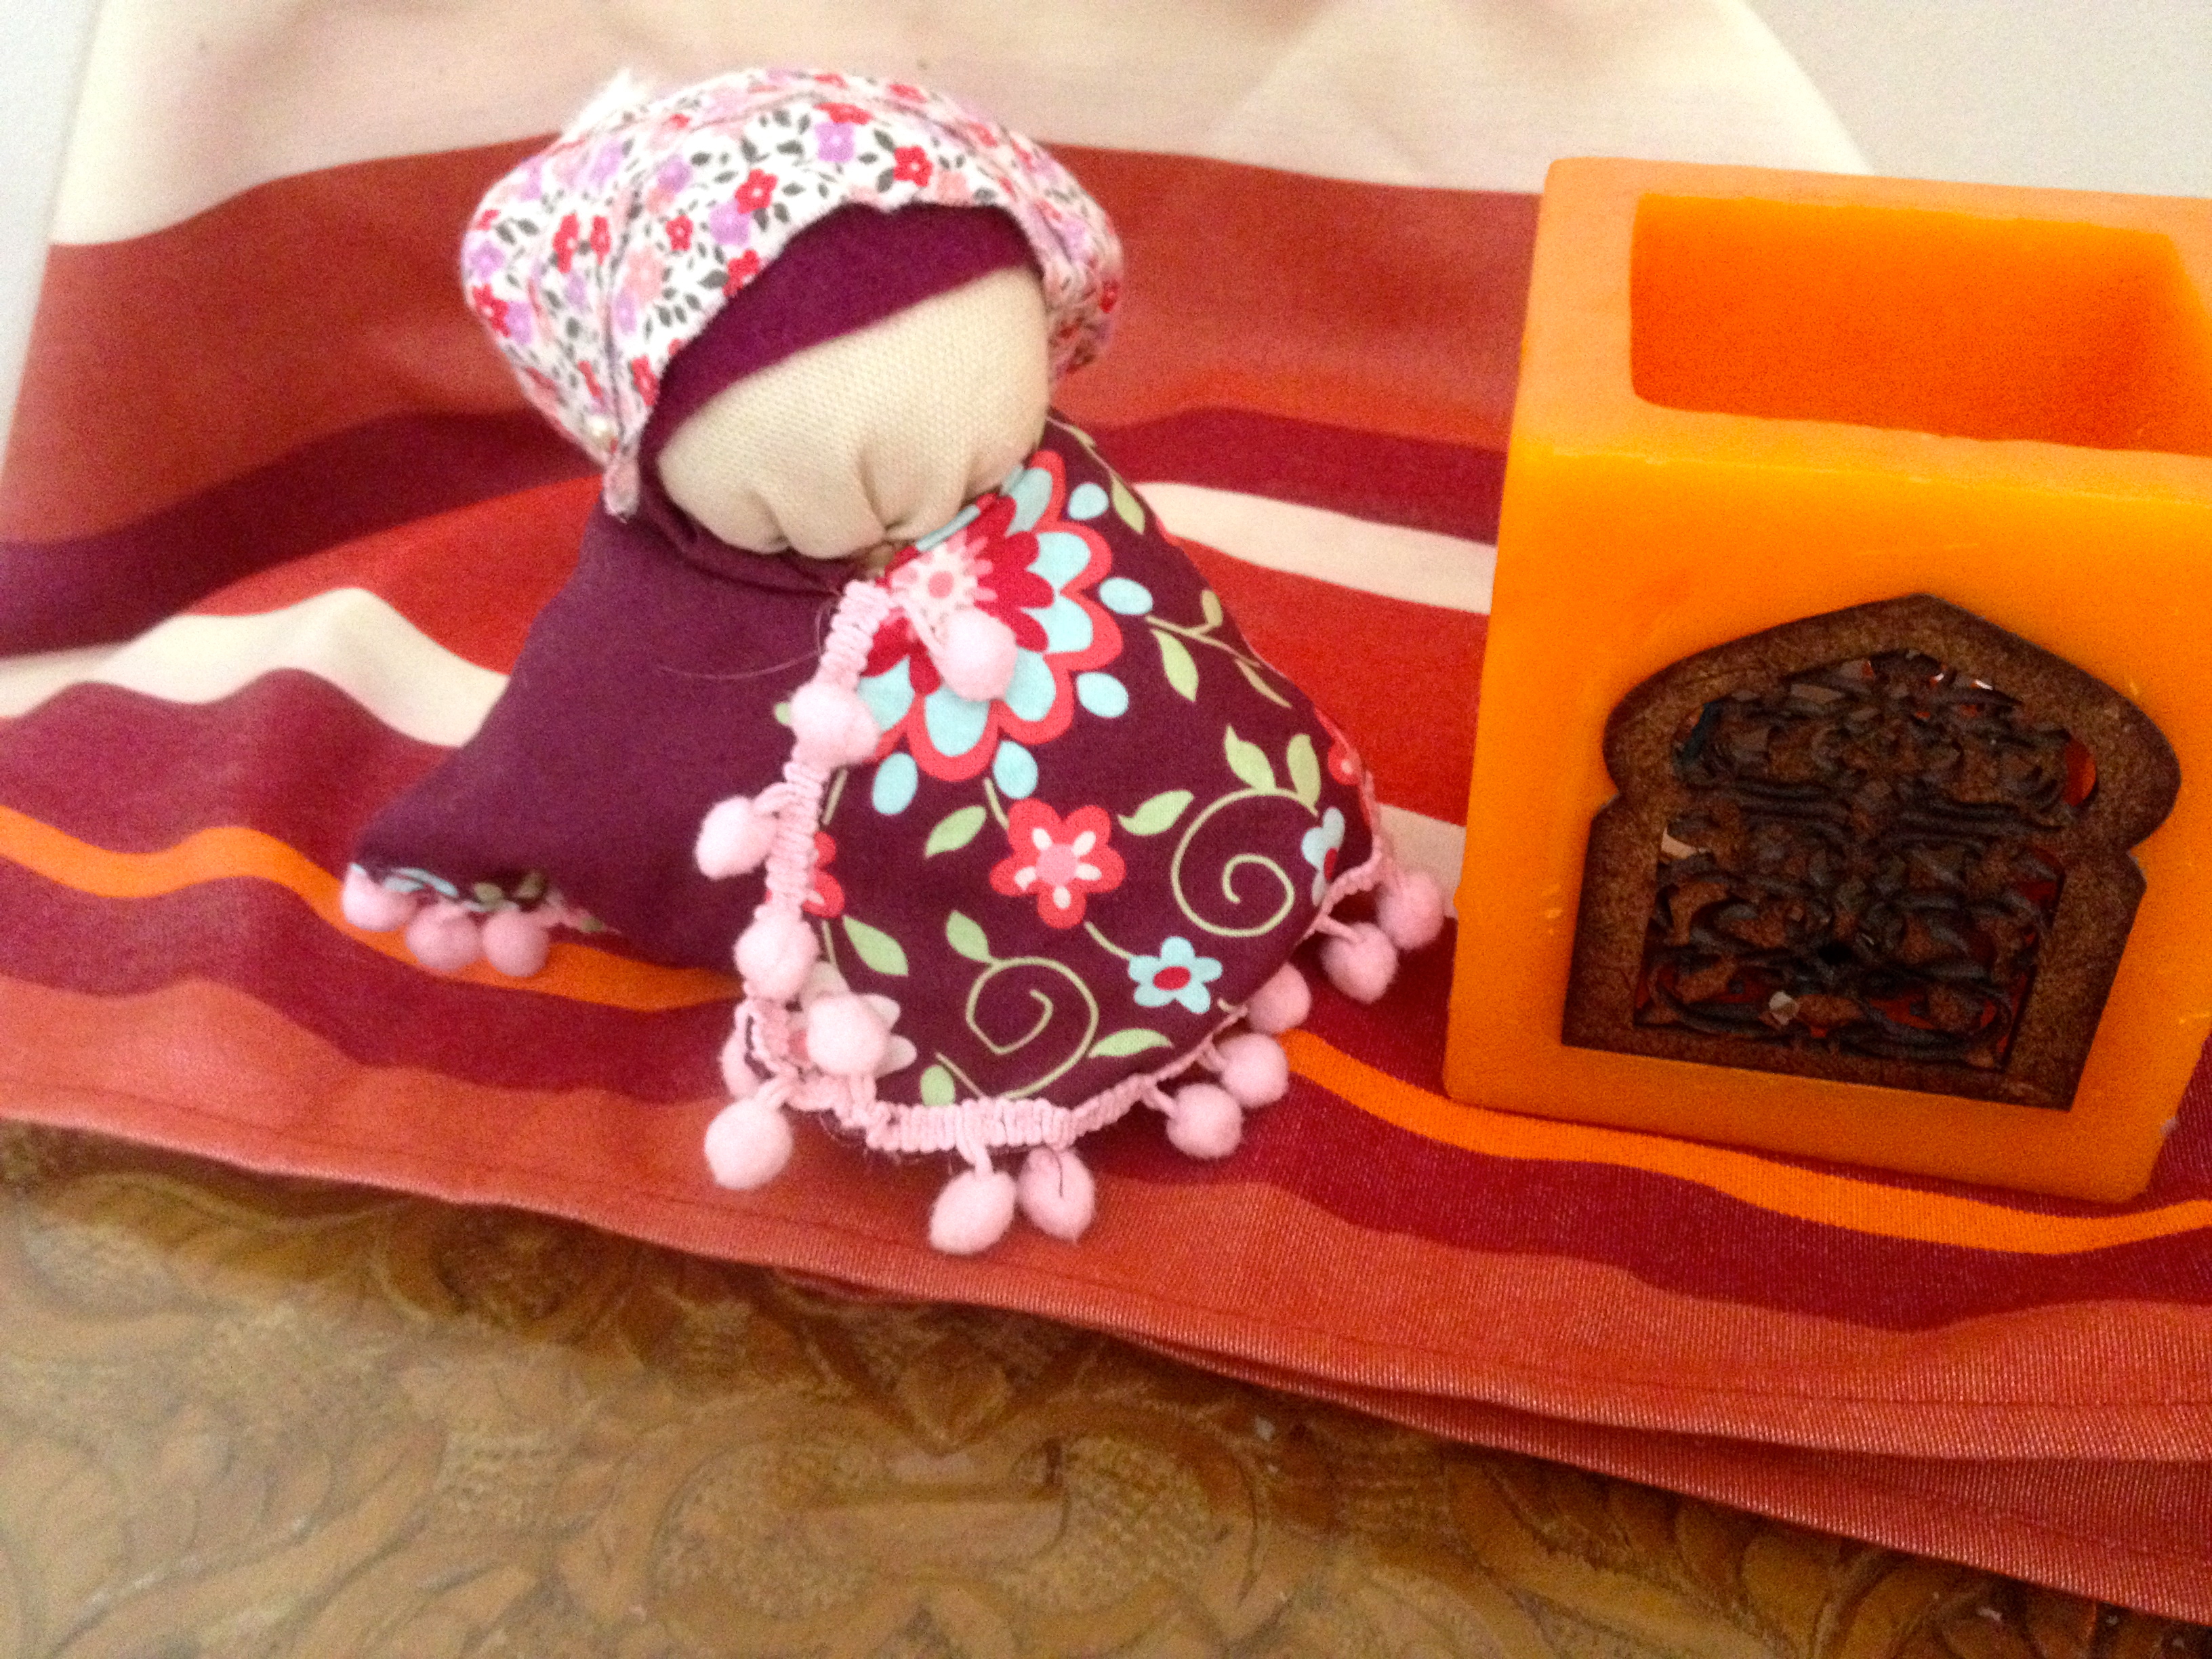
The fun now begins: you can experiment dressing your doll with different materials and colours, make a dress, a cape or a hat, add a tiny necklace or headband, embroider features on the face…The possibilities are endless! I put several small layers on the head with bits of plum felt and plain cotton, then covered the body with a patterned fabric and added some pink pom pom trimming on the edge.
Just make sure to hold the clothes on the doll with a few hand stitches, and ta-da! It’s done. Have a look at our two tiny creatures! Del went for the little house in the prairie look, and I went for a colourful oriental one. I’m amazed how different they turned out to be!


Ta poupée est très jolie, merci beaucoup ! Je peux l’ajouter à mon blog ?
LikeLike
Oui biensur avec plaisir, j’ai l’honneur de t’annonce que tu es la premiere personne a nous laisser un commentaire sur notre nouveau blog et nous sommes tres honores que cela soit toi ! XXX
LikeLike
Sérieux ? Bah attendez, j’ai lu “A popular french blog”, j’ai trouvé que c’était trop la classe =)
LikeLike